Speak Fluent "Twill" in 5 easy Steps
Share
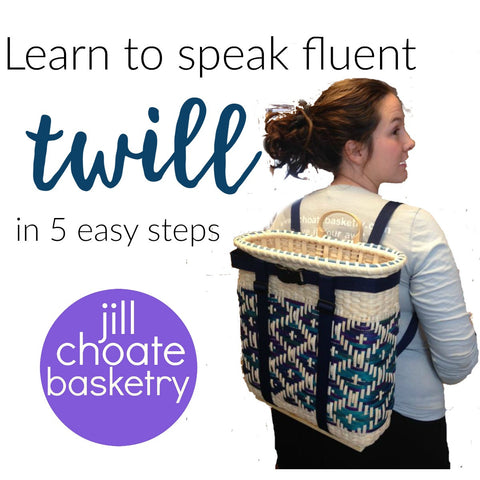
There are some among us that find it hard to speak "twill". These weavers we will term "twill challenged". They don't get it, they can't see it, a day with a twill basket feels like a day in hell. Even though they get frustrated deep inside they REALLY want to wander into the realms of color and pattern that twill lends itself too.
Let me help you learn to speak fluent twill in a couple of easy steps.
BASIC TWILL:
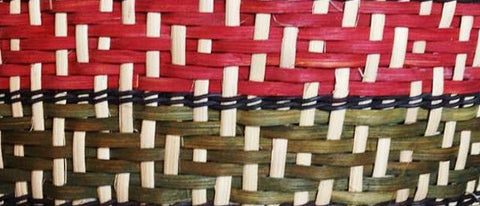
- We're talking over 2 - under 2 here. It's the first step on the road to twill weaving. Now it could be over 3 under 3 or any combination thereof but it is NOT over 1 under 1. What makes twill different is on the next row of weaving it steps over by one stake either to the right or left (you decide). Each consecutive row does the same thing steps over by one stake. This gives you a stair step look.
1-3-5-7 TWILL:
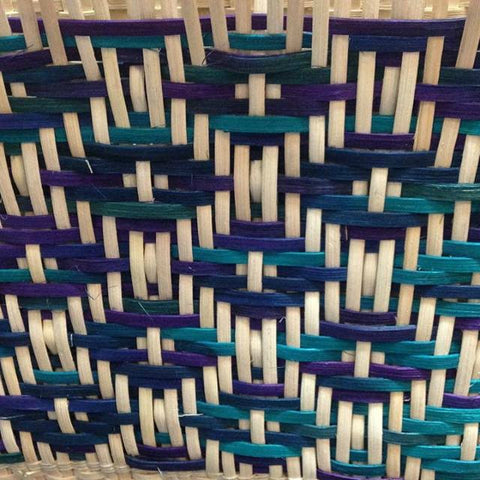
- Now we've opened up possibilities. A 1-3-5-7 twill means just that. You will ALWAYS be weaving over (or under) 1, 3, 5, or 7 stakes for more detailed patterns.
- So how do we decipher a diagram and weave it into the above design? Start with the pattern.


- The first thing I'm looking at is this section at the bottom of the pattern. It shows me a couple of things. First off, how many stakes are required for this design. In this case 12 stakes, so when I'm creating my basket I have to make sure that I have stakes in the basket in multiples of twelve (start/stop weaving).
- Second it shows me where to start my weaving at. I'm going to start somewhere on the basket with a 5 over stake in whatever I'm weaving with (in this case blue).
- Then I can go back to the larger diagram and see that this entire row is woven with a 5 over, 3 under, 1 over, 3 under, (or in my head its a 5-3-1-3 row).
- When completed I overlap the weaver for whatever length works and start the next row.
- Refer to the blow up diagram. The second row of weaving (over 3) is ON TOP of that over 5 row that I started with on the first row. Now I won't start at the same point because that makes the weave bulky. I'll find another place in the basket with that 5 over design and begin the second row with 3 over on TOP of the 5. Check back to see how that row is woven on the larger diagram. This second row is woven with over 3, under 3 for the entire row.

- Use this same procedure for the third row, over one on top of the last row of over 3. What you've done as you've completed this first section is built the frame work for you to follow one of diamonds to either the left or the right of these 3 rows. Use the same procedure but look at them now for a starting point to begin with.

- They'll come a point where you don't need to refer to the diagram anymore. Usually after the first couple of diamonds are complete. Then you can look at the actual basket for the pattern and refer to previous rows that you've woven for a guide.
- Remember that the pattern is hard to see up close. Back up from it and it will be more visible.
- If a row is not going down nice and and feels springy and wants to bounce up it usually means your off the weave somewhere. Look to the diamonds, they tell the error story.
Step up your weaving to include twill designs, it opens a whole new chapter in your basketry! A great couple of projects to get you help you on your journey are the Tear Drop Twill Basket, the Aurora Mountain Tote, the Diamond Bike Basket and the Twill Backpack.


1 comment
I have been weaving for 28 years. A great many changes have occurred during this time. I found the direction concise, including many tips and helpful forr both the beginner and experienced weaver.