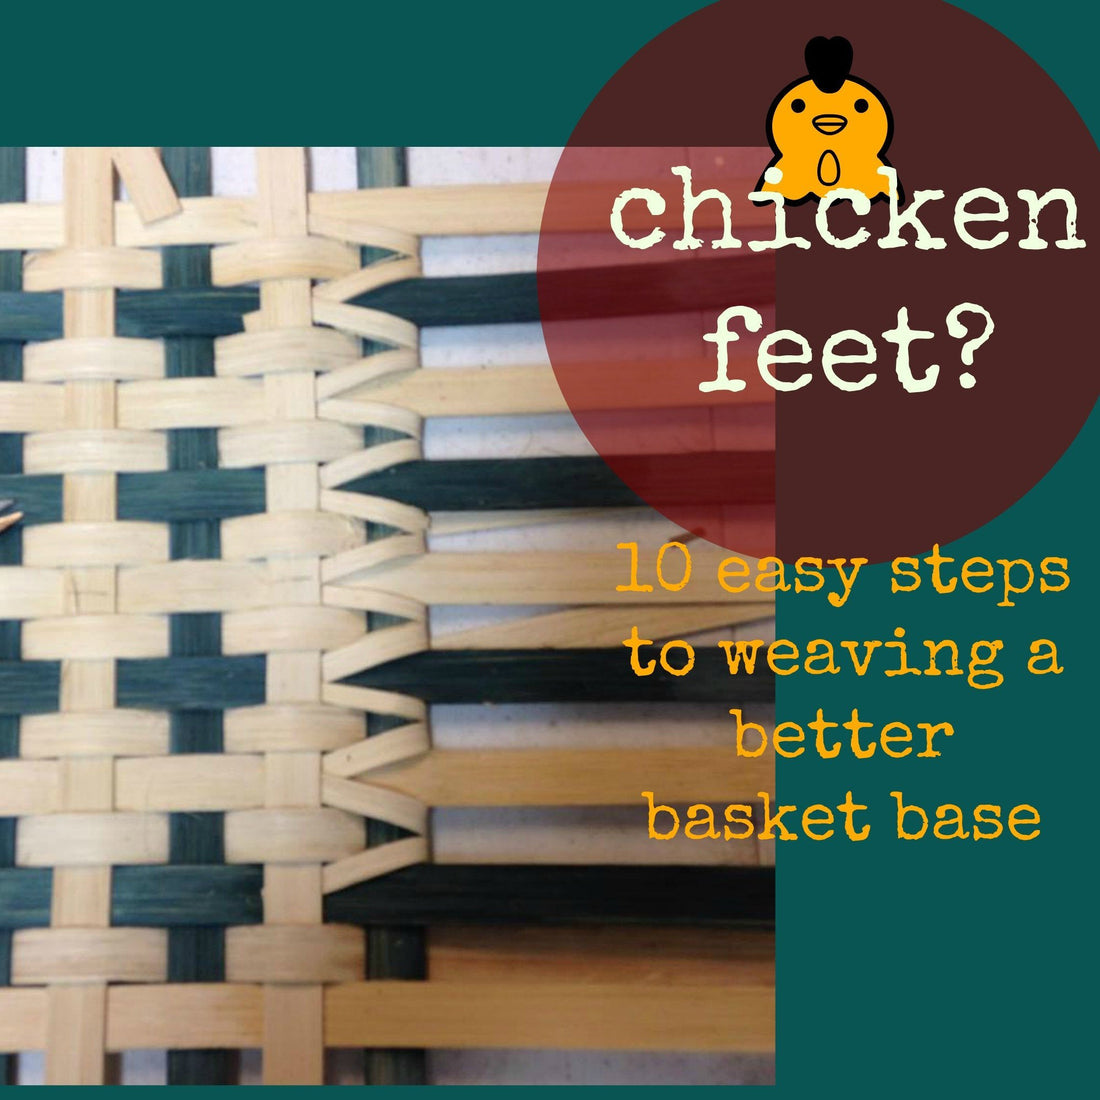
Got chicken (feet) in your basket? 10 easy steps to get them there.
Share


I'm a big proponent of using chicken feet in the base of the basket. Using the chicken feet technique enables you to have a solid woven base AND makes your weaving easier on the sides. How can that be? Let's dissect a basket.
The long side of a basket had LOTS of room between the stakes due to the weave. The short side of a basket DOES NOT when woven the conventional way. If you use the chicken feet method of adding short filler stakes in between your stakes this problem is solved and a tightly woven base is the result.

- The filler stakes need to be of a shorter width and length then the stakes in the basket. My stakes in this basket are 5/8" FR and the filler stakes are 1/2" FR.
- There are 9 horizontal stakes that vary from dyed to natural.
- There are 8 horizontal filler stakes that go in between each.
- If you are making a pattern in the base of the basket (this one is a cross) make sure you start the first weaver correctly. For this base there are eleven woven stakes. That means that stake # 6 (from the right) is the center stake and it's NATURAL. It is started ON TOP of the stakes and BELOW the fillers.
- Weave 5 stakes to either the right side or the left alternating between the dyed and the natural stakes.
- If you've woven it right the dyed crosses will appear, if not, check your weave again.
- True your base, in my case this base is 10" X 12".
- Chicken feet are woven with the horizontal fillers. Spray the fillers on the side your work on. Upset set them by folding over AFTER sprayed. Measure to the next row of weaving and cut. Then cut in 1/2, the chicken feet straddle the stake they were cut from and tuck underneath the vertical row of weaving previous. Continue on both short sides of base.
- Twine the base with #2 RR or #3 RR and lock.
- BINGO, you have a solid woven base with crosses!
Here are some great basket designs that use chicken feet in the base:
FREE VIDEOS for these designs:

1 comment
Thanks, I’ve made chicken feet before, but never thought about the “crosses”.